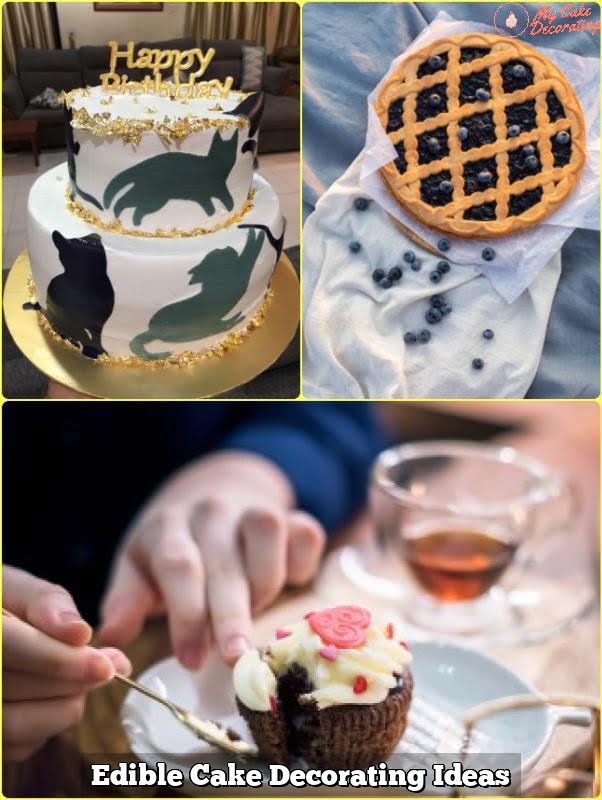
There are many edible cake art images available for cake decorating, that will make your cakes stand alone in excellence. You must follow the directions carefully for best result and ease in application.
Tips to Apply Edible Cake Art:
– Make sure you have clean, dry hands before touching the image. If you are working with a frozen cake, let it thaw a bit before applying the icing. Edible Image(r) cake decorations need a bit of moisture to blend into the icing.
– If the cake is dry, spray it with a light mist of water, brush on light syrup, or add a thin layer of icing before you apply the image so it will stick to the cake. If your cake is moist, don’t add water or moisture to the cake. Too much water will cause the colors to run.
– Once the image is applied, it cannot be removed or moved. Know exactly where you plan to place the image. Using care apply the image to your cake, face up. Once the image has been applied, tap the image down gently with your fingertips. Start from the center of the image and work toward the edges.
– If the image should become moist or hard to remove from the backing, it can be placed in the freezer for a couple of minutes, the image should peel off easily.
– If the image should bubble after it is applied, gently tap and DO NOT RUB the image. If the cake is still frozen after application, it should be placed in the refrigerator to thaw slowly. Avoid exposing the image to ultraviolet light. The image may fade over time, as with any food coloring.
– If the image bubbles during freezing, again you can gently tap the image.
Handling and Storage of the Image
– Edible Image(r) decorations should be stored in the silver bag it came in, and kept in a cool, dry place.
– Make sure to reseal the original bag after you remove an image.
– You will need to use the image immediately after it is removed from the bag.
– Once you have finished decorating with Edible Image(r) decorations. You can store your product as you normally would. The images are freezer, shelf, and refrigerator friendly.
How to apply the Images to other products
– Ice Cream: To apply the image to a cake frosted with ice cream or non-dairy whipped topping, do not add any additional water. If you are applying the image directly on ice cream, you should let the ice cream melt just a bit before application. When you are working with soft serve ice cream, you will get better results if you apply the image while the ice cream is soft and then freeze it.
Buttercream icing
* Apply the image immediately after icing the cake. Buttercream will form a crust about an hour after they have been applied. If this has happened, spray the icing with a fine mist of water before you apply the image.
Frozen Cakes
– Thaw a bit before icing to avoid cracks forming in the cake, then you can apply the image. If the decorated cake is frozen, you will need to let it thaw slowly in the refrigerator, uncovered, so the cake will not sweat and the colors will stay true.
Royal Icing
– Make sure you add a good mist of water over a cake iced with royal icing before you apply the image
Non Dairy Whipped Topping
– When working with this medium, do not add any extra water before you apply the image. Keep the finished cake in the refrigerator to maintain the integrity of the image and the topping.
Rolled Fondant or Sugar Paste
– When placing an image over sugar paste or fondant, plan where you will put the image. With a small paintbrush, apply a good amount of plain water. Brush water only where the image will be. Any water outside the image will leave a mark on the fondant or sugar paste. Although you must be sure to apply enough water, or the image will not stick.
– Edges can be tapped down with a very small, slightly moist paintbrush.
Poured White Chocolate, or other poured icings
– Apply the image while the icing is wet. Be sure your cake is on a flat surface or the image may slide.
Standard Instruction for Application
– Remove the Edible Image(r) from the sheet just prior to application.
– If there are still images in the bag, reseal it immediately.
– Remove the image from the backing sheet by gently placing it on a table edge, (facing up) and rolling the backing sheet over the table edge. This will loosen the image so that it can be carefully peeled from the backing.

Welcome to my blog about home and family. This blog is a place where I will share my thoughts, ideas, and experiences related to these important topics. I am a stay-at-home mom with two young children. I hope you enjoy reading it! and may find some helpful tips and ideas that will make your home and family life even better!


