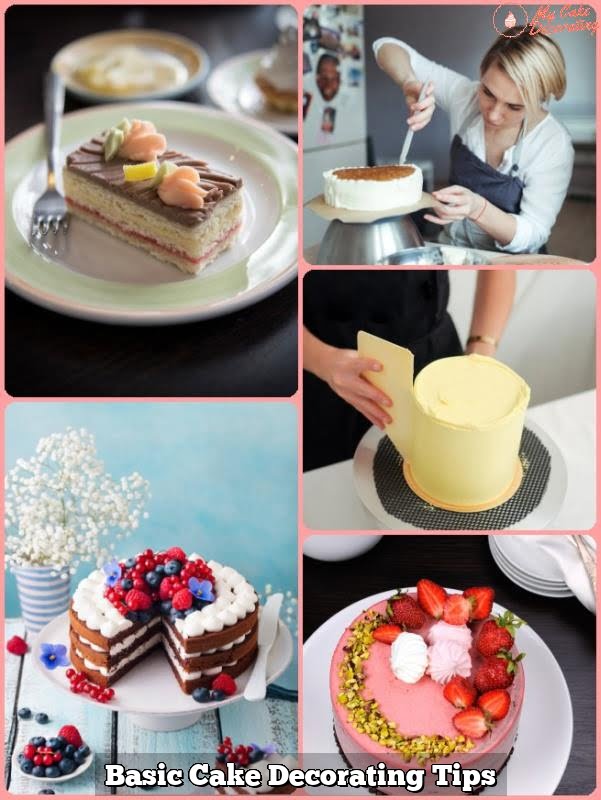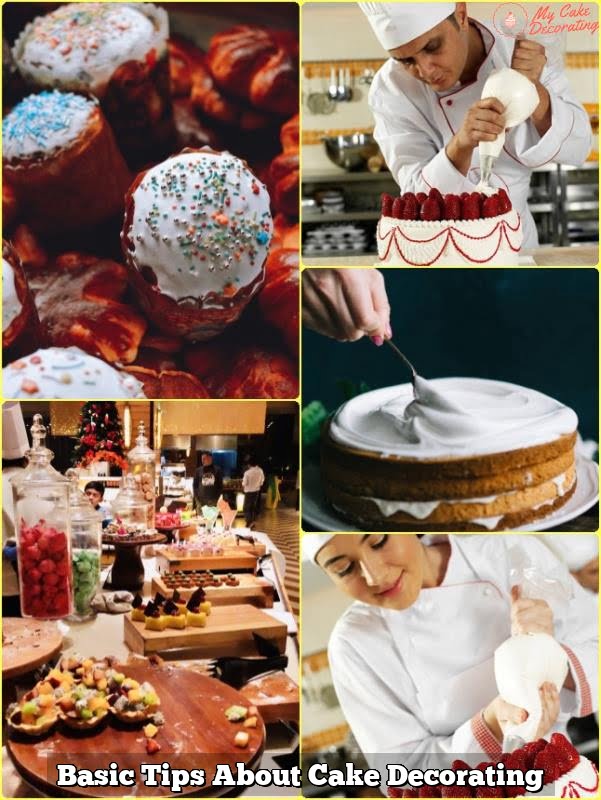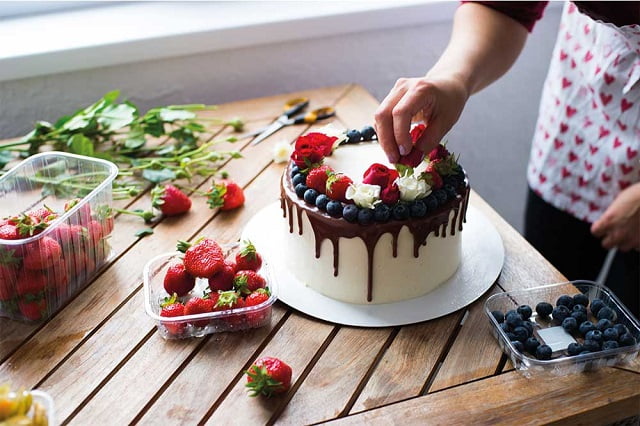
After you have baked the cake, and it has cooled, the next step is decorating the cake. While this can be a fun and pleasurable task, this is also the step that takes a bit of skill and patience. I hope, these tips will allow you to have more fun decorating your cake.
Let’s begin with the basics. The cake decorating tips that are essential and things that you need to know before you. You will need a workplace that will afford enough room to be able to decorate your cake without being cramped. You also need to be away from disturbances and you will not need to move away from because you will be in the way of others.
The first thing to know about cake decorating, is the fact that the cake must be completely cooled before you make any attempt to decorate. If the cake is still warm, you will run into many problems.
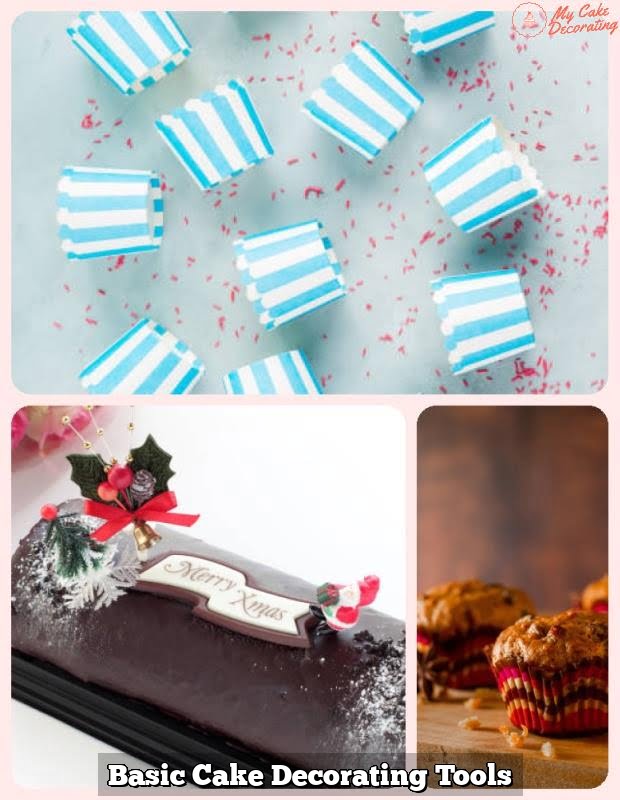
The next item is to make sure you have gathered all of the tools and ingredients for decorating your cake. Some items you will need are: a syringe or piping bag, the type and size tips you will be using, and the coupler to attach the tips to the piping bag. You will need to plan how you will decorate the cake ahead of time, so you can have all of the tools you need on hand when you begin decorating.
To begin with you need to ice, or frost the cake with royal icing, butter cream icing, or fondant icing. To start with, make sure you place a thin layer of frosting over the top to hold the crumbs together. When that is done, you will frost over that layer. It is important to make sure the icing you use is the right consistency.
If the icing is too thin or too thick it will affect the end result of your cake decorating. If you are creating a decorated cake and you think your frosting is too thin, you can add a bit more confectioners sugar. Make sure you add this a little at a time as it can become too stiff if you add too much. If you feel your icing is too stiff, carefully add a bit more liquid.
Icing is used in different consistencies for different cake decorating techniques. When you are making roses, or any flower with upright petals, and will be piping figures on the cake, you will want to use a stiff icing or your petals may droop.
To make stars, flowers with flat petals, and shell borders, you will want to use a medium consistency. A thin icing is used for writing on the cake, and thinner, more delicate work such as vines and leaves. If you add about 2 teaspoons of light corn syrup to your icing, you will find the icing will flow easier and make it more flexible.
flowers with flat petals. A thin icing mixture should be used for writing characters, and thinner, pointier shapes and styles such as leaves and vines. Add a couple of teaspoons of light corn syrup to the icing mix to make it more flexible and easier flowing.
Once the cake is iced, it is time to begin decorating. The way you hold the icing bag is important, as the direction and angle you hold the piping bag will influence the way the patterns and shapes you will create, will turn out. Thankfully there are only two positions to hold the piping bag to make certain designs.
The firs position is to hold the piping bag at a 90 degree angle, straight up from the surface of the cake. This is used for the simpler decorations that don’t involve a lot of movement in making the design. The center of rosebuds, adding eyes to a character or making stars and dots. The other position involves the piping bag being held at a 45 degree angle, or holding the bag half-way between straight up and the surface of the cake.
In this position you have more flexibility to create sweeping styles, and create shapes with your piping hand. You can use this angle for flower petals, or writing on the cake. Some of the piping tips, like the tips for basket weave, petal and ruffle, have ends that are irregular. There is a right and wrong way to hold the bag when working with them.
Now that you know the basics here are a few tips to start you on your way to making a decorated cake.
– Basket Weave – Using this technique will give the sides of your cake the look of a basket. You may want to practice on a piece of waxed paper until you feel confident enough to begin on the cake. Using the basket weave tip and an icing that is of medium consistency, take turns applying a vertical stripe, following it with a horizontal stripe across the vertical.
Make sure the horizontal stripes are a bit longer so the vertical stripe will fit across it. Soon you will see a basket pattern become apparent.
– Bows – This technique will make your cake look like a wrapped gift. Use a flat tip and medium icing. Hold your bag at a 45 degree angle and sweep your bag left, making half of the bow. Make the same movement to the right, making a figure 8. Hold the bag and sweep downward and out from the center of the bow, once on each side to make 2 streamers.
– Lacework – This technique is great for wedding or baby shower cakes. You should practice this technique to make sure you have good control before you use it in your cake decorating. Using thin white icing, hold the bag at nearly a 90 degree angle and very close to the surface of the cake. You will want to make a border so you will need to decide how far you want to go in from the edge and make an icing border.
Move the tip up down and around to make many similar shapes, do not touch or cross the other designs. Do this until the area is as full as you want it to be. Now you can go over the border on both sides with a thicker icing. You will be amazed at the lacework you have created.

Welcome to my blog about home and family. This blog is a place where I will share my thoughts, ideas, and experiences related to these important topics. I am a stay-at-home mom with two young children. I hope you enjoy reading it! and may find some helpful tips and ideas that will make your home and family life even better!

