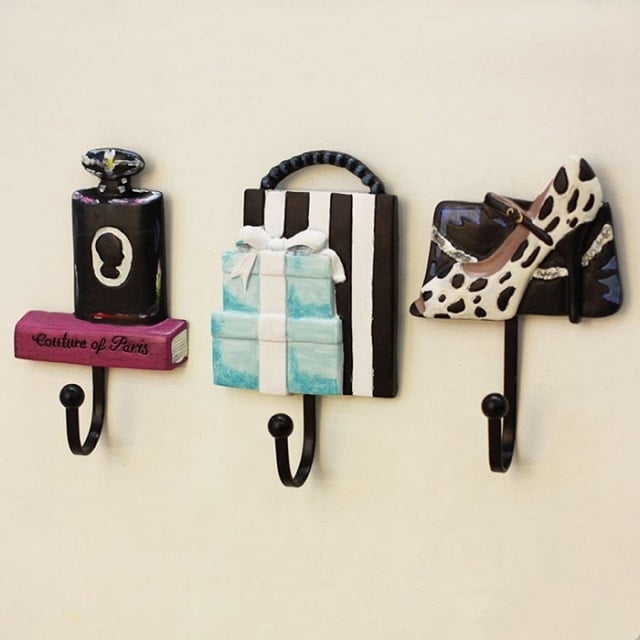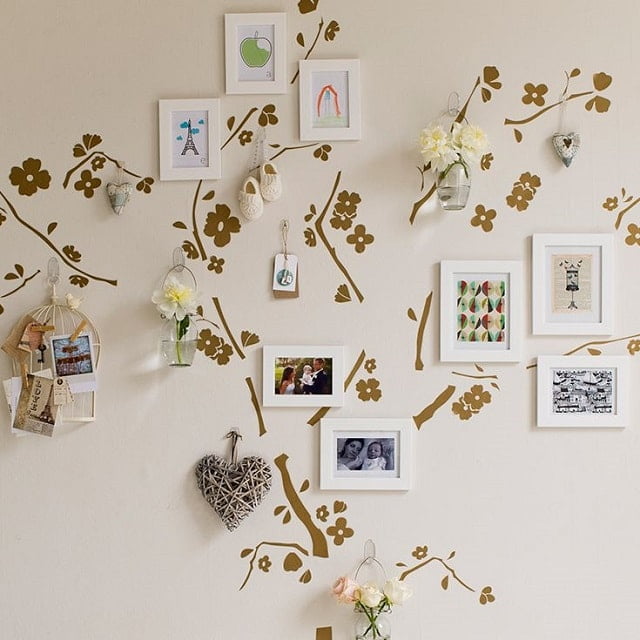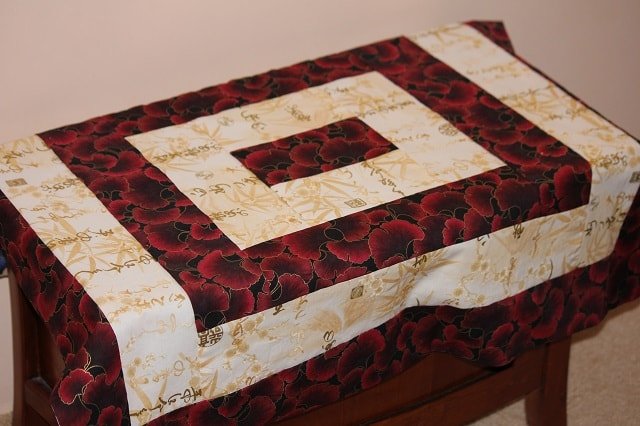
Wall hangers make nice gifts. In addition, wall hangers make a nice decoration for your home. The flowerpots, which are pieced by hand, make fancy decorations or gifts as well. In view of the fact, we can start designing a wall hanger together.
Let’s get started:
Now understand that we are not talking about making something that will hang on your wall, rather we are speaking of a quilt. The notion behind the wall hangers is to assist beginners, since it is one of the easiest in the craft business to create.
To get started you will need one yard of fabric, i.e. green print. Add another ½ yard to tan fabric print, and another 1/3 yard of blue and yellow, ¼ peach, and ½-rust. You need at least 128 x 36 inches of pieces of fabric that coordinate.
This will make up your background. Purchase another traditional-weight piece of batting in the same dimension as the background material. Add 4 yards of coordinated quilt binding fabric, and gather all-purpose thread to complete your task.
Throughout the process, you will need rotary cutters, scissors, needles, thread, thimble, pins, pincushion, and so on. The cutters will assist you with cutting ¼-inch seam allowances throughout your quilting experience. If you do not cut the ¼ as advised, your quilt will come out uneven.
Now that you have gathered your tools, it is time to start assembling the top of your quilt. Before we get started however, let’s require the pieces you purchased.
The fabric green print colors are your upper and lower borders. You should have the amount of two when you get started and you will need to re-size your inches to 2 ½ x 19 ½. You will need to of your prints for the border sides, which equals two, and the size of 2 ½ x 27 ½ inches. You can start making squares or building blocks to prepare to stitch your quilt. Use your green print as the D square and mark the amount of 36, and the inches in size at 1 ½ x 1 ½. Next, move to your tan print. You want to make the tan amount to eight, and have five blocks, or pieces. The tan should go as follow: “A-Strip, B-piece, C-strip, D-square, E-square, and F-strip.” Now the A block amounts to eight, and has inches in size at 1 ½ x 4 ½. The B block should amount to eight also, and measure to 2 ½ and 3 ½ inches. The C block should amount to 28 and measure to 1 ½ x 2 ½ inches. D amounts to 52 and measures at 1 ½ x 1 ½ inches; E is eight counts and 2 ½ x 2 ½ inches. Finish your final block and should amount to 12 and measure at 1 ½ and 3 ½ inches. Now you have your blue print, which is the C-strip and amounts to 26, measuring at 1 ½ x 2 ½ inches. The C-strip for the blue print is important, since you will use eight of the blues as borders for your quilt, and the remaining amount to create your blocks. The blue has a D-square at 12 and measures to 1 1/2 x 1 ½ inches. Now you have your yellow and peach prints left. The yellow is C-strip, D-square, and the last four is the cornerstones. C has a value of eighteen, and measures at 1 ½ x 1 ½ inches, while the D has a value of 12 and measures at 2 ½ x 2 ½ inches. Moving along the F in Peach Print Strips has the amount value of four and dimensions of 1 ½ x 3 ½ inches.

Welcome to my blog about home and family. This blog is a place where I will share my thoughts, ideas, and experiences related to these important topics. I am a stay-at-home mom with two young children. I hope you enjoy reading it! and may find some helpful tips and ideas that will make your home and family life even better!


